Installing Sendy is simple. Upload the files, create a database, configure a few settings, then complete the remaining setup in your Amazon Web Services console. Just follow the step-by-step instructions below.
If you require installation service, we do provide it for only $79. Simply purchase Sendy with an installation option selected or reply the license email sent to you after purchase.
/includes/ folder, open the file config.php file in any text or code editorIn the file you've just opened, set the APP_PATH (the URL where your Sendy will be accessed from) and your MySQL credentials (you'd need to create a MySQL database on your server or hosting control panel)
Beginner Tip: If you've never created a MySQL database & user before, follow this easy to follow video tutorial or this step by step guide on doing so in cPanel. If your host does not use cPanel, refer to your host's documentation on creating a MySQL database & user.
Upload Sendy to your server.
Beginner Tip: You can use an FTP app like Cyberduck or the File Manager in your hosting control panel to upload Sendy.
Image, attachment and CSV uploads requires the /uploads/ folder's permission to be set to 777.
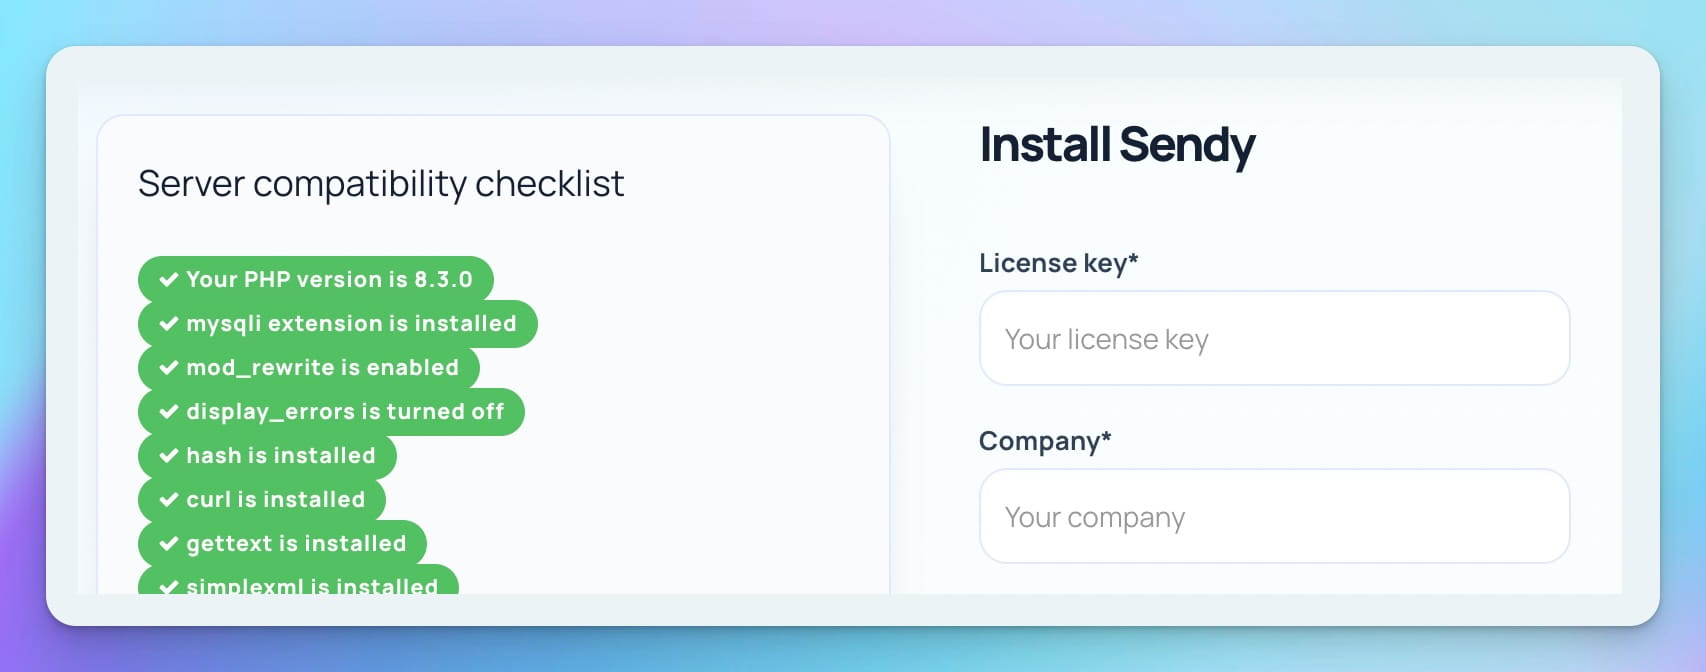
Visit your Sendy installation. For example, if you uploaded Sendy to http://yourdomain.com/sendy, visit this link to install.
Note: If your installation page fails to load, visit https://your_sendy_installation_url/_compatibility.php?i=1 (replace https://your_sendy_installation_url with your own Sendy URL) to see which extensions are not installed on your server and request your host to install them.
Click the Install now button to proceed.
Sign up for an Amazon Web Services (AWS) account if you don't have one.
Once signed up, you're ready to hook up Sendy with your AWS account. To do so, you'd need to create a pair of 'IAM Credentials' for your Sendy installation. Start by visiting your Amazon IAM console, then follow the instructions in the video below (direct link to video):
Finally, you'll need to fill up this form to request Amazon to and move you out of 'Sandbox mode' so that you get a larger daily sending limit and be able to send emails to any email address via Amazon SES. Here's information on how to fill up the request form.
Congratulations! You're all set up.
Log in to your Sendy installation and start adding your first Brand.
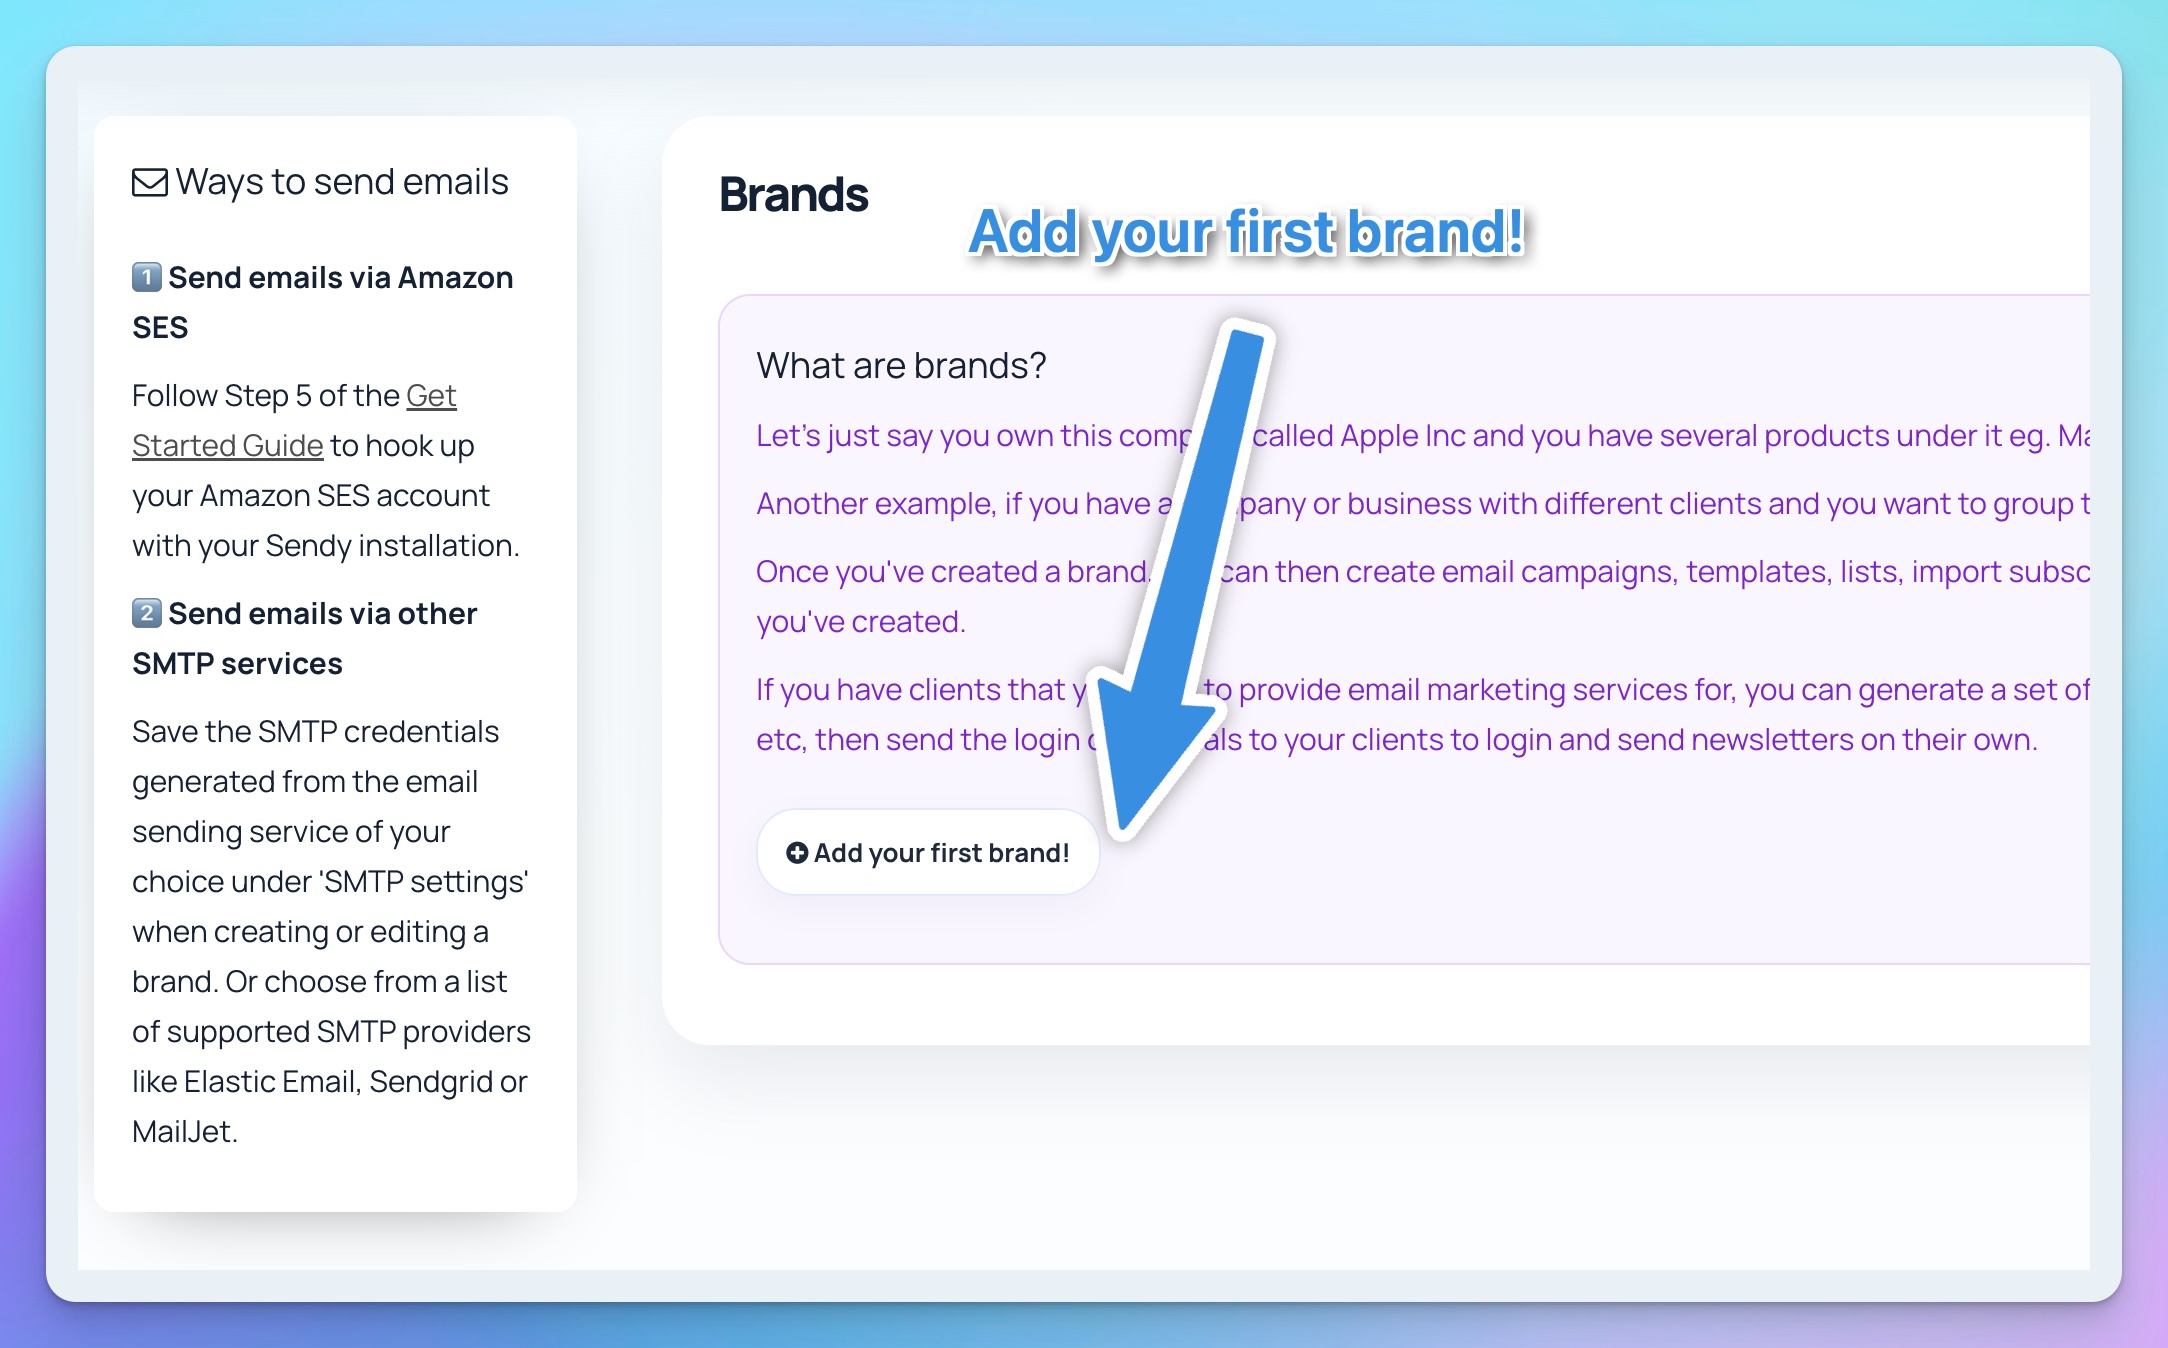
What are brands? Let's just say you own this company called Apple Inc and you have several products under it eg. Mac, iPhone, iPad etc. These several "child" products are what we refer to as 'brands'.
Another example, if you have a company or business with different clients and you want to group them separately, you can create a 'brand' for each.
Once you've created a brand, you can then create email campaigns, templates, lists, import subscribers or blacklists, setup autoresponders, perform list segmentation etc in each brand you've created.
If you have clients that you want to provide email marketing services for, you can generate a set of login credentials for each brand, set access privileges, monthly limits, cost per email etc, then send the login credentials to your clients to login and send newsletters on their own.
Have fun!
Please visit the troubleshooting page for help information as well as quick answers to common issues.
View Sendy's API documentation, download example scripts and browse third party resources & integrations.
View our documentation on how to translate Sendy into your own language.